Mastering the kickflip on a fingerboard is a milestone for any fingerboarder. This classic trick involves flipping the board 360 degrees along its axis while in the air. Follow this detailed step-by-step guide to learn how to kickflip on a fingerboard.
Step 1: Positioning Your Fingers
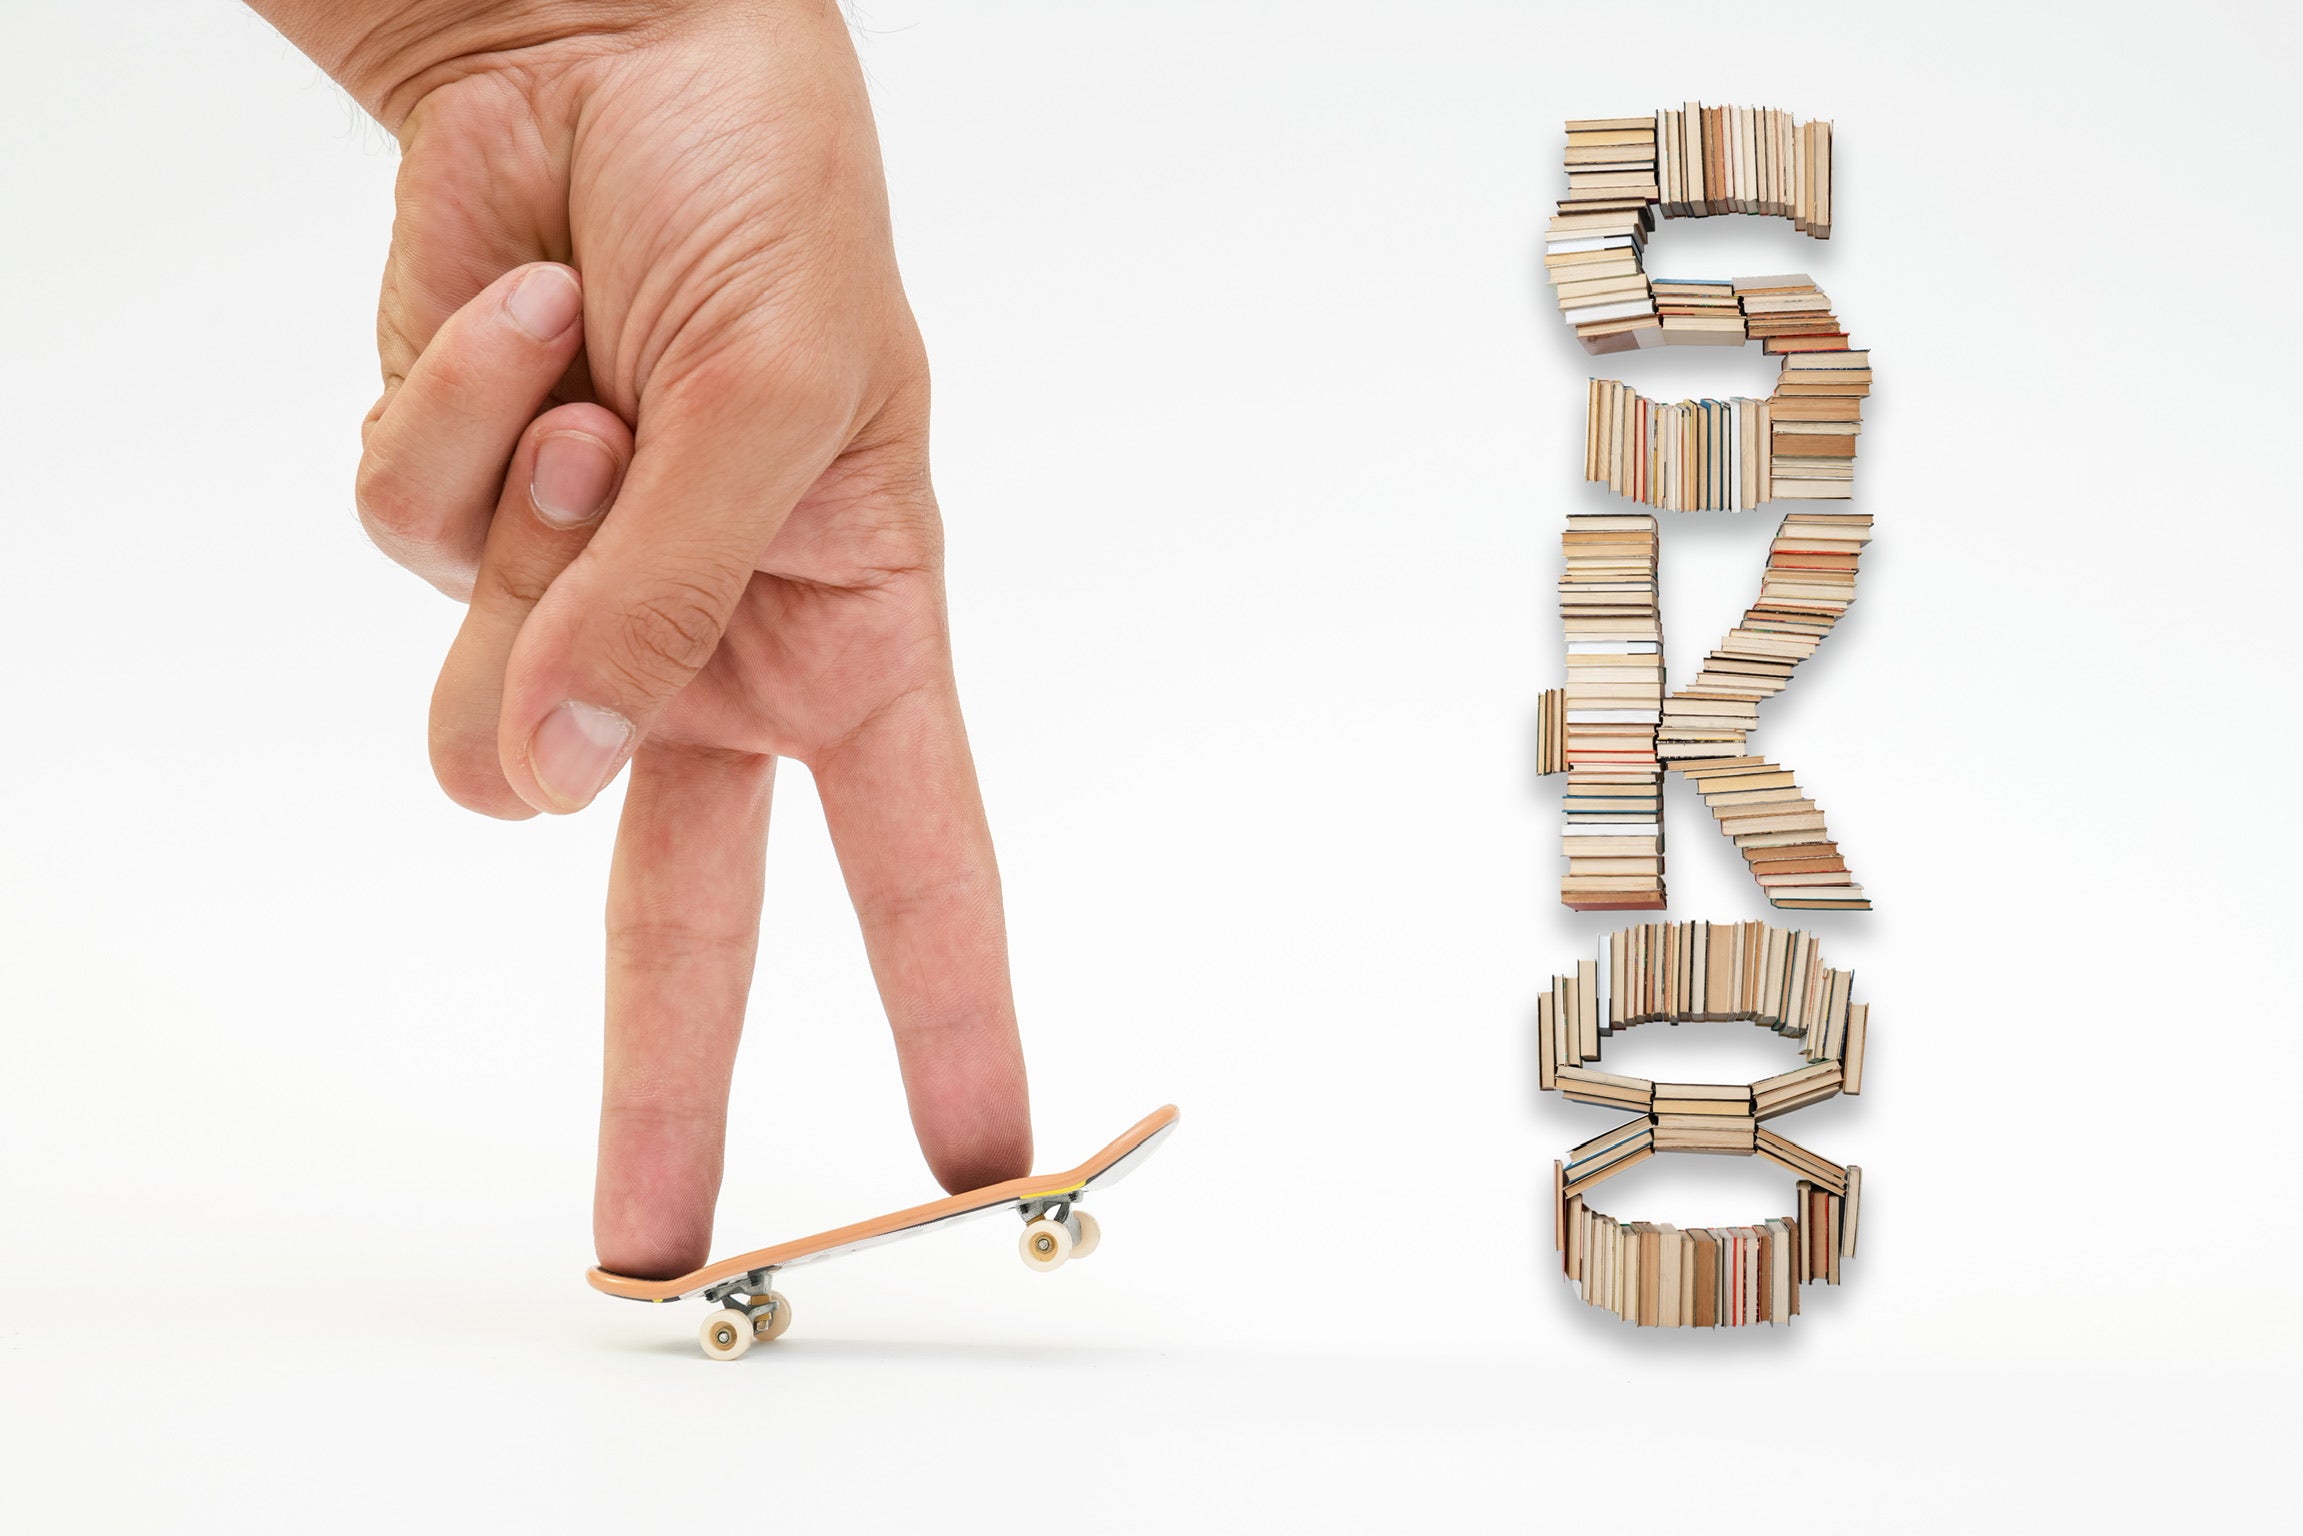
- Front Finger (Index Finger): Place your index finger just behind the front bolts on the nose of the board. This finger is crucial for guiding the board during the flip.
- Back Finger (Middle Finger): Position your middle finger on the tail of the board. This finger will provide the pop needed to lift the board into the air.
Step 2: Setting Up
- Stance: Start by placing the fingerboard on a flat surface. Make sure you have a comfortable stance with your fingers firmly positioned as described above.
- Balance: Ensure that your fingers are balanced on the board. Practice rolling back and forth to get a feel for the board's movement.
Step 3: Popping the Board
- Pop: Push down sharply on the tail with your middle finger to pop the board into the air. The tail should hit the surface, causing the board to lift up.
- Lift: As you pop the board, lift your index finger slightly to allow the board to rise.
Step 4: The Flick
- Flick Motion: While the board is popping up, slide your index finger off the edge of the nose at an angle. This flicking motion is what causes the board to start flipping.
- Timing: The flick should be quick and controlled. Too much force can send the board spinning out of control, while too little won't complete the flip.
Step 5: The Flip
- Observation: Watch the board as it flips. Keep your fingers ready to catch it once the flip is complete.
- Control: Try to maintain control over the board's rotation. Practice flicking gently to get a feel for how much force is needed to complete the flip.
Step 6: Catching the Board
- Aligning: As the board completes its flip, position your fingers to catch it. Aim to place your fingers back in their original positions (index finger near the nose, middle finger on the tail).
- Timing: The catch should be timed so that your fingers land on the board just as it completes the rotation and is level with the surface.
Step 7: Landing
- Steady Landing: Guide the board back to the surface, absorbing the impact with your fingers to ensure a smooth landing.
- Roll Away: Once you've landed, roll the board away to complete the trick.
Tips for Beginners
- Practice: Start by practicing the popping motion without the flick. Once you’re comfortable with the pop, add the flick motion gradually.
- Slow Motion: Try doing the trick in slow motion to understand each step better. Gradually increase your speed as you become more comfortable.
- Patience: Mastering the kickflip takes time and practice. Don’t get discouraged by initial failures. Keep practicing consistently.
Common Mistakes to Avoid
- Over-flicking: Flicking too hard can cause the board to spin uncontrollably. Use a gentle, controlled flick.
Fun Fact: Curt Lindgren created the kickflip on a skateboard in the 1970's.


