Congratulations on getting your first Shred Fingerboard!

You'll love the super grippy foam grip tape, the sturdy maple wood, the customizable trucks and cool wheels. But before you use it, you may have to build it. So here are the instructions.
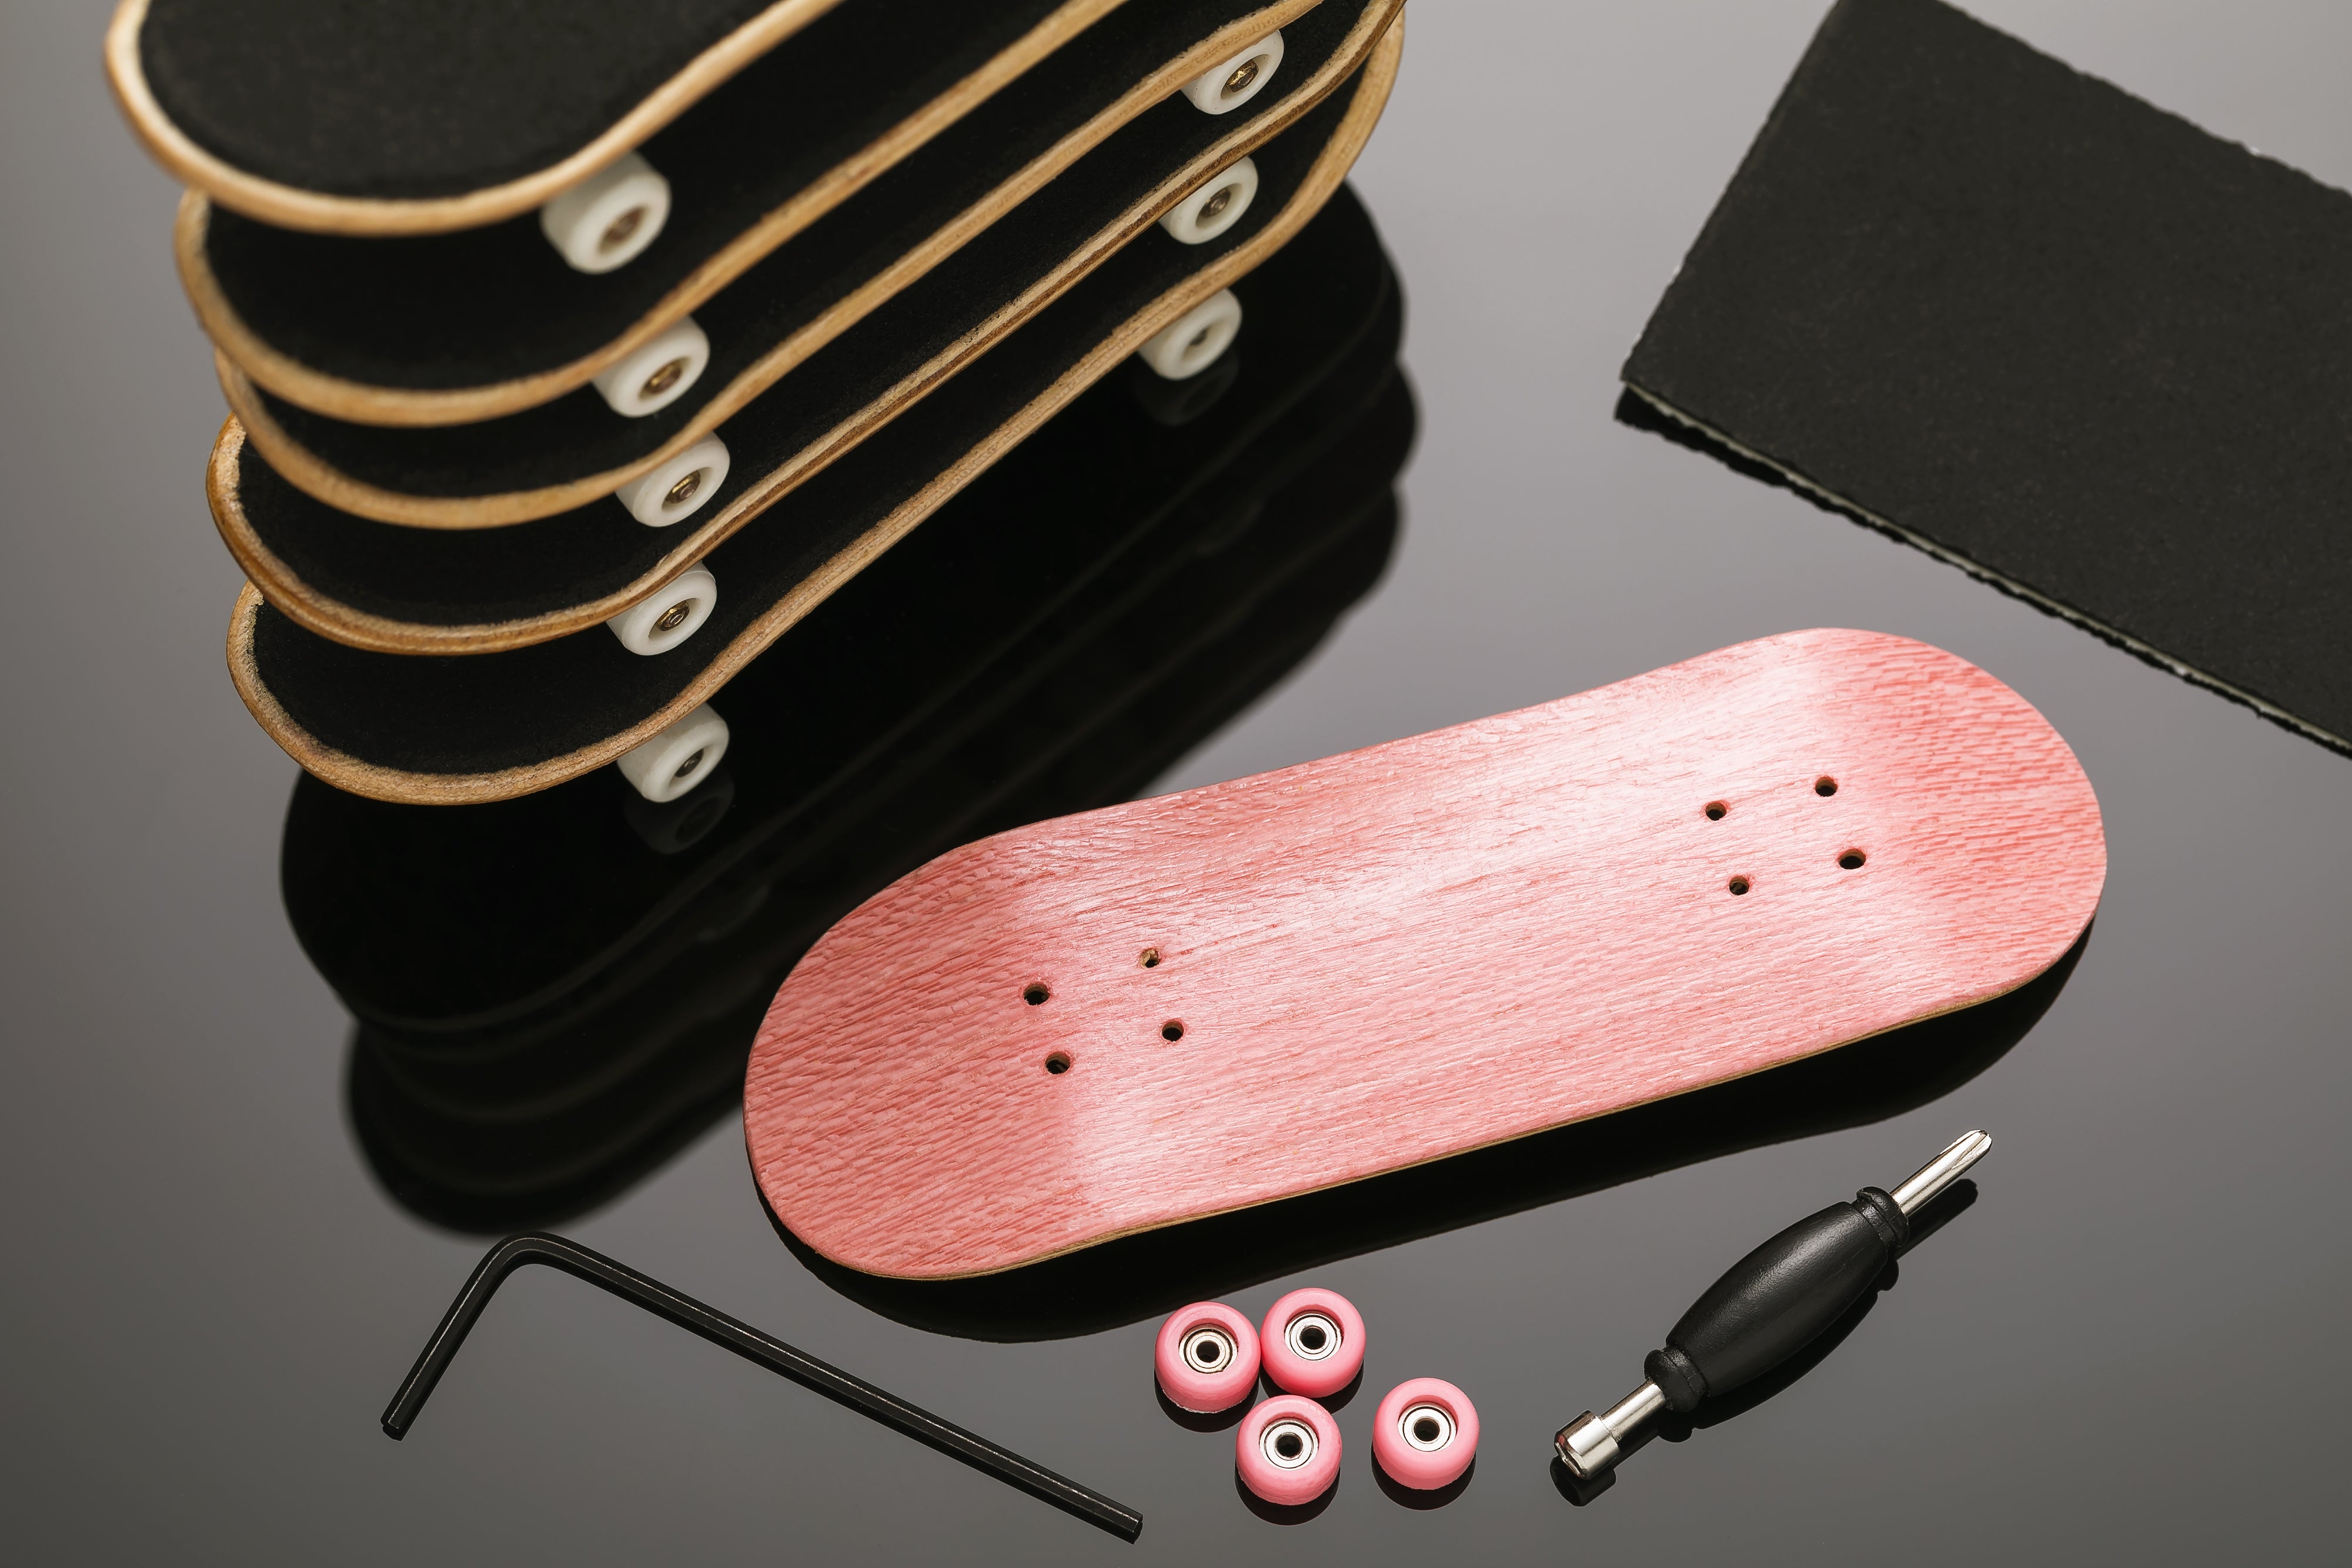
Your Shred Fingerboard Kit Includes:
- 1 maple wood deck
- Foam grip tape
- 4 wheels
- 4 bearing sleeves (Be careful. They're small and you don't want to lose them!)
- 4 wheel nuts. (Also small, so be careful)
- 8 truck screws with a phillips head for screwing in.
- 2 trucks
- 1 build tool, with a socket wrench on one end for the wheel nuts and a phillips head on the other in to screw in the trucks.

Step 1 - Build Your Trucks
- Pick up one of your trucks and slide a bearing sleeve over one of the axles.
- Pick up one of your wheels. You will notice on one side of the wheels the bearings are almost flush with the outer wheel and on the other side of the wheel, there is a deeper pocket.
- Push the flush side of the wheel on the axel over the bearing sleeve.
- The axel end will now be inside the open part of the wheel that is facing outward.
- Pick up one of your wheel nuts and place it on top of the axel and, with the top of your finger, give it a slight turn clockwise to fix it in place.
- Grab your build tool and, with the socket wrench side of the tool, tighten the wheel nut firmly.
- That's it! Now do the same thing with the next 3 wheels.

Step 2 - Apply Your Grip Tape
- Make sure the top of your board is clean.
- Peel away the adhesive cover on the back of the grip tape. (Do NOT cut your grip tape before placing it on the board.)
- Place your grip tape over the board. Start on one end of the board by aligning the grip tape with one end, and then slowly roll it on towards the other end of the board. Using your fingers, press down to make sure it is fully adhered. The grip tape will be much bigger than the board at this point.
- Cut way the surplus grip tape to the shape of the board. For best results, use a nail file and lightly, slowly file away the grip tape from the edge of the board all the way around the board. Always file in the same direction.
Step 3 - Attach Your Trucks
- Using a needle, poke a whole through the grip tap from the bottom of the board so you can see where the truck holes are through the grip tape.
- Remember, it's important to put the truck screws through the grip tape (and not under the grip tape) so you can change your trucks out in the future if you choose.
- Grab 4 of your truck screws and, with your fingers, push them through the grip tape holes you made with your needle.
- Grab one of your trucks and, with your fingers, align it with the truck screws the are poking through the bottom of the board.
- IMPORTANT NOTE: Make sure the kingpin on your truck is pointed towards the inside of the board. Both kingpins will face each other.
- Grab your build tool, and with the philips side begin to screw in the truck screws into the corresponding 4 holes on the truck. Screw them in tightly to make sure the base of the truck is flush with the board deck.
- Once your first truck is secured tightly with the four truck screws, install the second truck, again making sure that the kingpin on the truck is facing the other truck.

Step 4 - Adjust the Kingpin
- Try your board out.
- Is it too wobbly? If so, using the socket wrench side of your build tool, tighten the kingpin on both trucks to minimize the play.
- Is it too tight and hard to turn? If so, using the build tool, loosen the kingpins to allow for more play.
And that's it! You're ready to SHRED!!! Have fun and keep your tool in a safe place to make adjustments in the future!